Make Flowers with Toilet Paper Tubes

Toilet paper tubes are a fact of every day life. They are EVERYWHERE! The questions becomes: What do I DO with them all? I could not imagine the number of tubes that a family of 5, 6, or 7 would accumulate in their home. So here is a new simple idea to use them all up.
What You Will Need
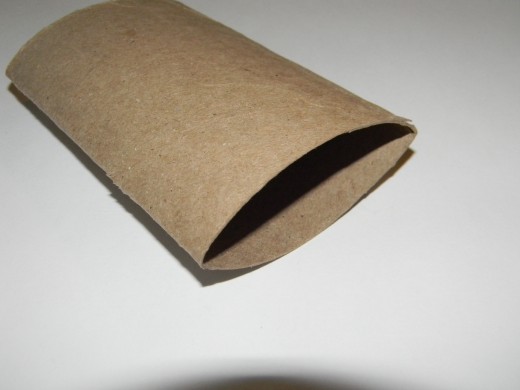
- Toilet paper tubes (obviously) LOTS of them. You will probably want at least 20 to start with
- Ruler
- Pencil or Pen or Marker
- Scissors
- White Glue or Hot Glue
- Spray Paint
- Fishing Line or String
- Open space outside to paint
Getting Started
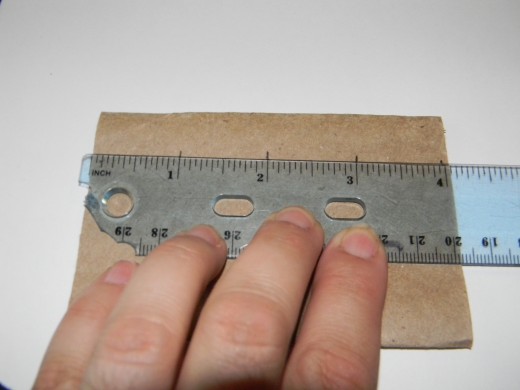
- Take each toilet paper tube and measure 1" segments across the length. For most tubes you will get at least three, sometimes you will get four. Toss any scraps.
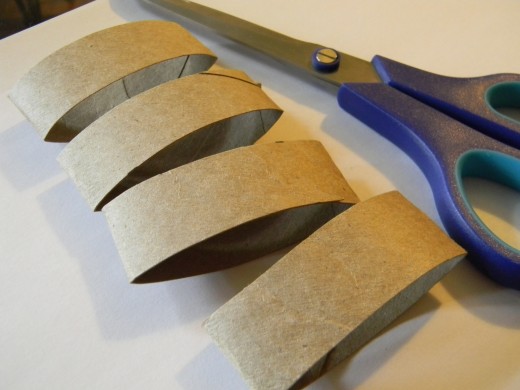
- Cut these lengths and set aside until you accumulate anywhere from 5 to 9 depending on the type of flower you want to make.
I usually do these two steps for weeks before hand, filling a shoe box with these pieces so I can just sit down and make a lot of flowers at once.
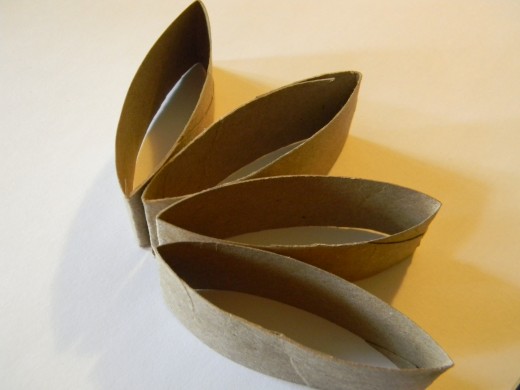
Making the "Petals"
This is the part that will take some practice and experimentation. I found several ways to arrange the tube pieces and several ways to manipulate the shape of the pieces to make a variety of flowers.
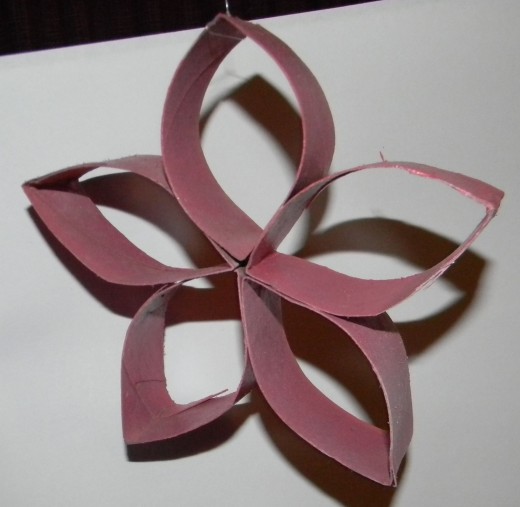
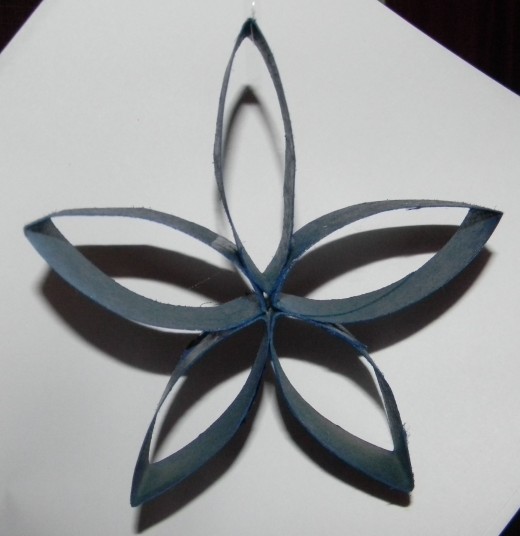
- To make a "daisy" style flower, simply leave the tube piece partially collapsed. The more collapsed the tube, the more petals the flower will have, which will create a great array of styles.
- To make a "Hawaiian" style flower, pinch one end and push the other end toward it to make a tear drop shape.
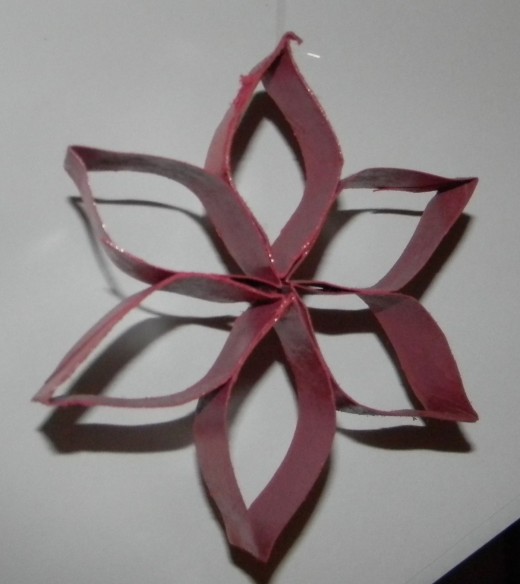
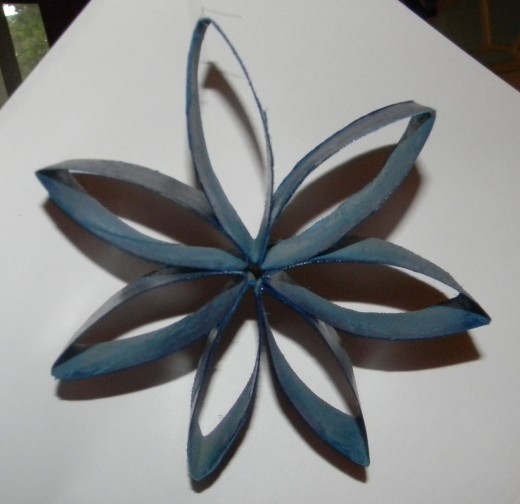
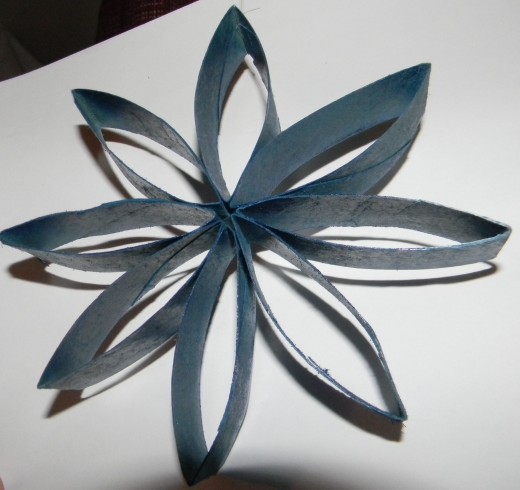
- To make a "snowflake" style flower, pinch both ends and push them toward one another to make the center bubble outward.
- You can even make non flower shapes as well that still look really cute.


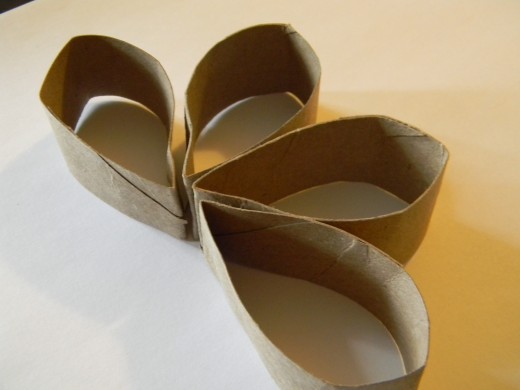
Assembling Your Flowers
This part is fairly simple, but requires some patience. There is nothing more un-nerving to me than "watching glue dry", but that is basically this step in a nut shell.
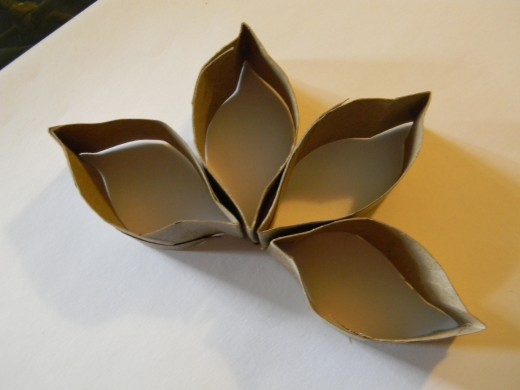
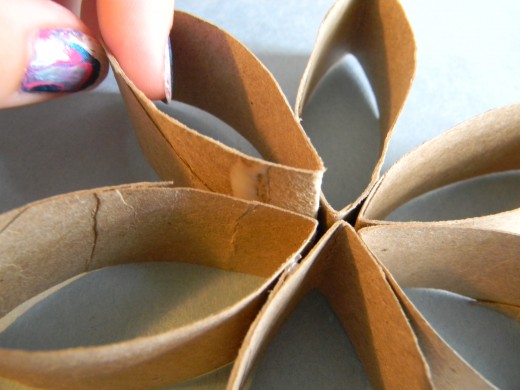
Arrange your "petals" into the shape that you want before you begin to glue them together. You don't need a lot of glue, just a simple line where two petals will make contact. This part might take a little practice but should be fairly easy to master. Once the whole flower is together.....wait for the glue to dry.
I collect a huge pile of tube pieces all ready to shape and glue. Then I sit down and work on them while my children are doing a bit of school that doesn't require too much of my attention. And I simply assemble and glue, assemble and glue, assemble and glue.....
Once the flowers have set for about 25 to 30 minutes they are usually safe enough to move to a secondary location to continue drying. I leave them to dry and harden overnight.
Painting Your Flowers
This step took a bit of experimentation to find the best way to accomplish it. The first time I did this, I simply set 4 or 5 flowers out on a piece of plywood and started spraying. While this was satisfactory, I was not pleased with several aspects.
- There seemed to be more paint on the wood than the flowers by the time I was finished getting them covered
- It was difficult to get the flowers covered inside and out due to the angle I needed to spray.
- The force of the spray paint often had the flowers scooting all over the wood.
- Flowers seemed to take quite a while to dry. Possibly because I was actually coating them with more paint than necessary because I couldn't easily see when a section was fully coated already.
So I decided to attempt something else. I "clotheslined" my flowers and tried again. This was much better for me and allowed for faster drying.
All you do is run a string or wire of some sort through one of the petals and string up about 3 or 4 flowers at a time and hang it up like a clothesline outside.
I did a white basecoat first on some of them and this seemed to help create a deeper color. Hanging the flowers up in the this manner makes it very easy to layer colors and put a light coat of another color to help create some depth.
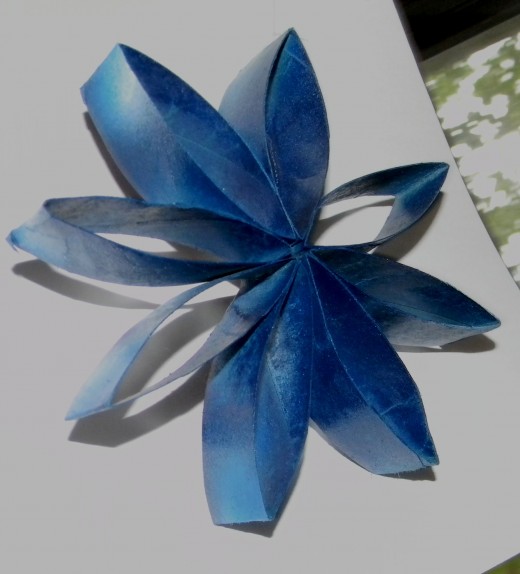
Finished Flowers
Click thumbnail to view full-size


What to do with Your Flowers
So you might be reading this whole thing, thinking to yourself, "well that's pretty nifty......now what?"
There are several things you could do with them. You could glue them to a canvas and paint an abstract flower scene with them. Or you could hang them around the room. I used mine for my daughters tea party decorations. I was originally going to hang them under a canopy outside, but with rain threatening, we decided to go inside. So this is what I did instead.


